With the wide variety of updated features available through Office 365, organizations can now create robust, beautiful intranets right out-of-the-box. In contrast to SharePoint classic sites, SharePoint modern sites have a clean interface, are responsive and adaptive to mobile devices, and offer significant performance improvements.
Read part one of this three-part blog series here.
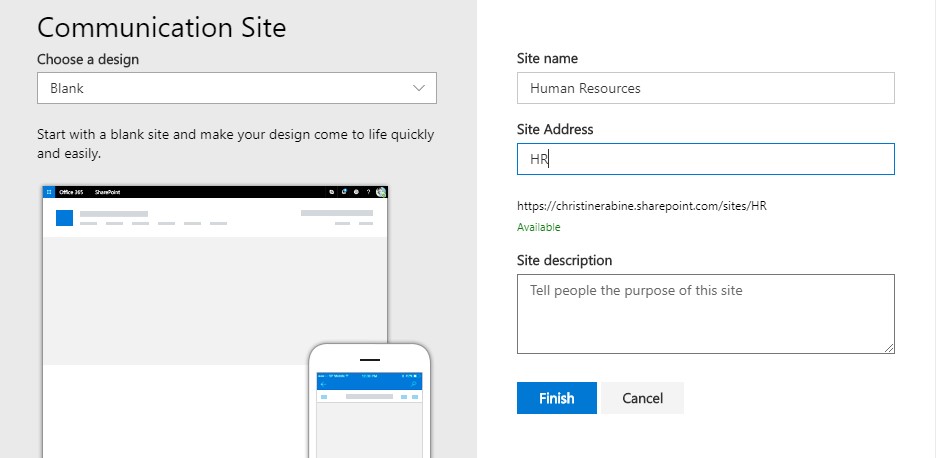
In today’s post, we’ll move on to setting up each site in the hub. In this sample infrastructure, each department will have a communication site to share with the entire organization, and an internal team site. Create a new SharePoint site using a modern communication site design.
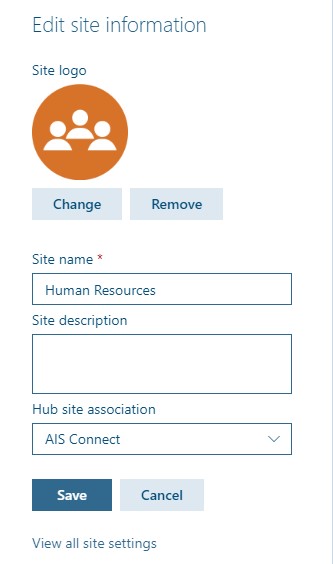
In the newly created site, select the gear icon and choose Site information. Here you can edit the logo, name, description, and choose the hub site to associate with.
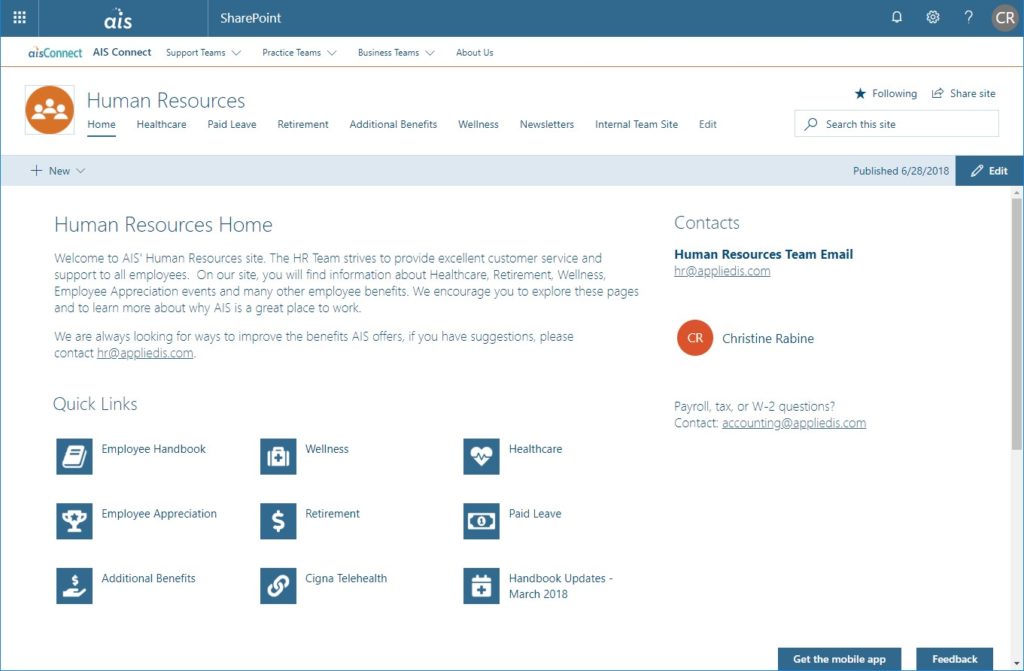
After clicking Save, the site should inherit the theme and the top navigation from the hub site.
Click Edit to edit the home page and add content as needed, and click Publish when you are finished. The example below shows a page with text web parts, a quick links web part with custom images, and a people web part. For more information on editing modern site pages, see Add or remove columns on a page, and Using web parts on SharePoint Online pages.
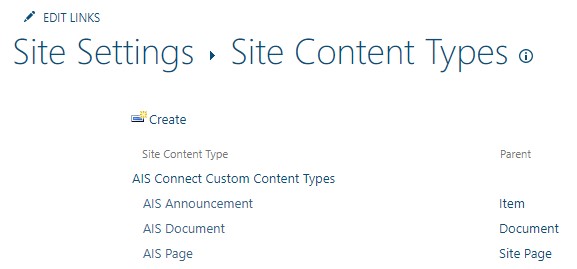
After the site has the custom content types from the content type hub, you can set up libraries to use those types. Select the gear icon and choose Site information. Click View all site settings. Click Site content types (under Web Designer Galleries) and verify that your custom content types are there.
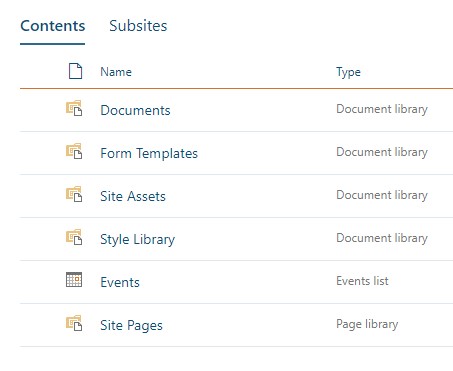
To go to the Documents library in your site, select the gear icon, choose Site contents, then click on the Documents library.
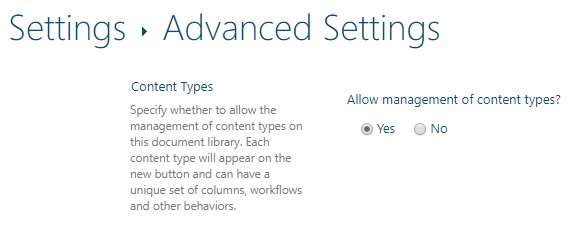
In the Documents library, click the gear icon, then choose Library settings. Click Advanced settings, then select Yes under Allow management of content types. Click OK to apply the changes.
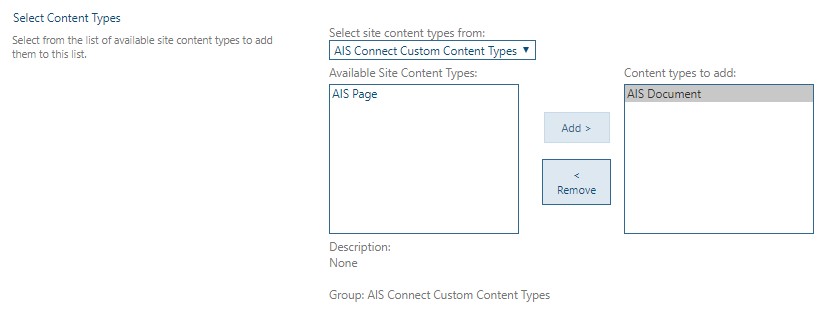
On the Library settings page, click Add from existing site content types (under Content Types).
Choose your custom document content type, then click OK.
Back on the Library settings page, click Change new button order and default content type (under Content Types).
Select the position for your custom document content type to be 1, then uncheck the Visible box for the default Document content type. Click OK when done.
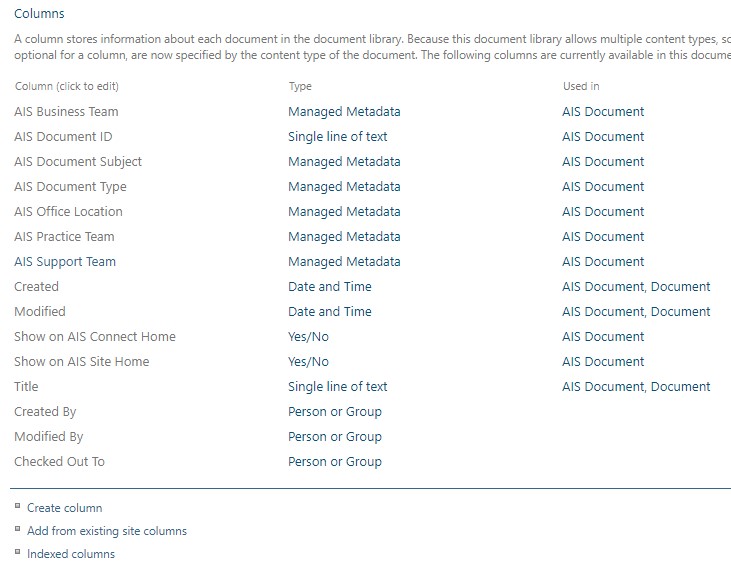
Now that the custom document content type is associated with the library, all documents uploaded to this library can be automatically associated with the specific department for this site by default. Back on the Library settings page, under Columns, click on the site column for the department. (In this example, the column is AIS Support Team.)
On the Edit Column page, scroll down to the Default Value field, and choose the appropriate department from the term set. In this case, the site is Human Resources, so that was the term chosen. Click OK when done.
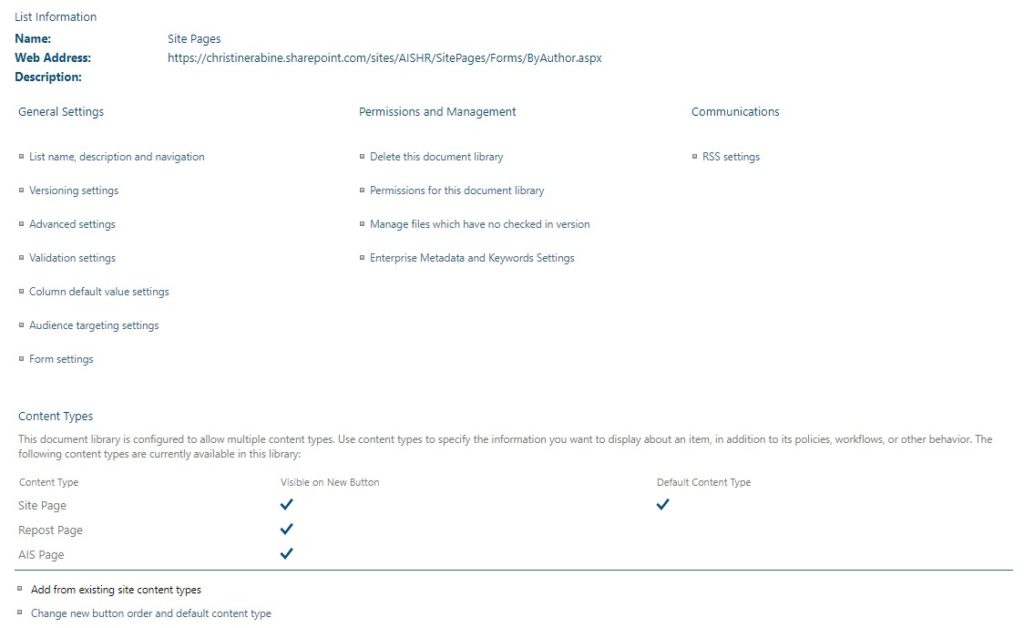
You can follow similar steps to add the custom content type for pages to the Site Pages library in the site.
- Select the gear icon, choose Site contents, then click on the Site Pages library.
- Click the gear icon, then choose Library settings.
- Click Add from existing site content types (under Content Types).
- Choose your custom page content type, then click OK.
- Back on the Library settings page, under Columns, click on the site column for the department.
- On the Edit Column page, scroll down to the Default Value field, and choose the appropriate department from the term set.
- Click OK when done.
(Note: For best results, you should not change the new button order and default content type for Site Pages.)
In our next post, we’ll start adding content to our SharePoint Modern Sites.


