Why JWT Tokens?
JSON Web Tokens (JWT) are an open, URL-safe & industry-standard method of representing claims securely between two parties. JWT Tokens are used for authorization and for exchanging information.
JWT Token Structure
The most commonly used JWT token consists of 3 parts separated by a dot (.).
- Header
- Payload
- Signature
Example:
eyJhbGciOiJIUzI1NiIsInR5cCI6IkpXVCJ9.eyJzdWIiOiIxMjM0NTY3ODkwIiwibmFtZSI6IlVzZXJuYW1lIiwiaWF0IjoxNTE2MjM5MDIyfQ.Co6UrECXBbveQJiF3NkuMhnO_R34qZXhfFvQbePy6y4
The first two parts of a JWT token (header & payload) are Base64-URL encoded JSON, and the last part (signature) is a cryptographic signature.
Header: metadata about the token type and the signing algorithm to secure content.
Example:
{
  "alg": "HS256",
  "typ": "JWT"
}
Payload: Set of claims containing statements about an entity(user) and other additional data.
Example:
{
  "sub": "1234567890",
  "name": "Username",
  "iat": 1516239022
}
Signature: Combination of a base64-encoded header. A base64-encoded payload and secret are signed with the algorithm specified in the header. It is used to validate the JWT token.
Example:
HMACSHA256(
  base64UrlEncode(header) + "." +
  base64UrlEncode(payload),
  secret
)
Steps to Implement JWT Using .NET 6
Create UserDto class file (used for login)
Create User class file (used for storing data into the database)
Create an Auth controller and its methods
Run the application
Step 1: Create UserDto.cs File
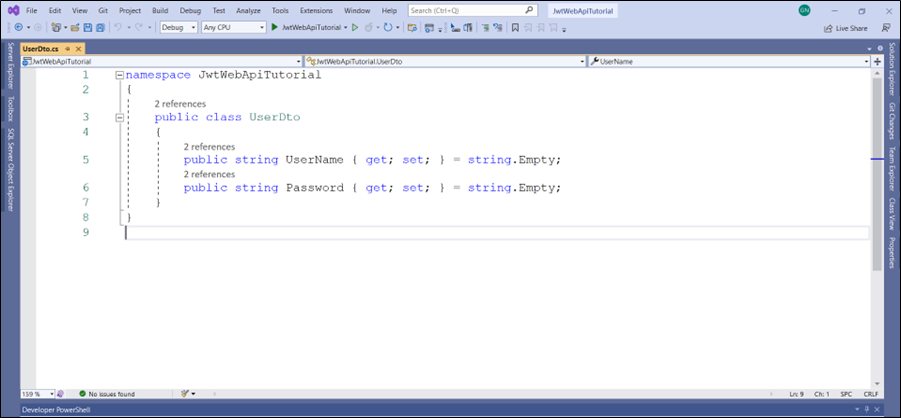
This file contains the Data Transfer Object (DTO) for login and user registration screen. Both the username and password properties are of type string.
Code:
namespace JwtWebApiTutorial
{
    public class UserDto
    {
        public string UserName { get; set; } = string.Empty;
        public string Password { get; set; } = string.Empty;
    }
}

Step 2: Create User.cs File
This file contains the user model with username, passwordHash, and passwordSalt properties. The Username property is of type string, passwordHash, and passwordSalt; both are of the type byte array (byte[]).
Code:
namespace JwtWebApiTutorial
{
    public class User
    {
        public string Username { get; set; } = string.Empty;
        public byte[] PasswordHash { get; set; }
        public byte[] PasswordSalt { get; set; }
    }
}

Step 3: Create Controller and its Methods
Create a controller named AuthController and follow the steps listed below:
Create Register () method
Code:
[HttpPost("register")]
public async Task<ActionResult<User>> Register(UserDto request)
{
       CreatePasswordHash(request.Password, out byte[] passwordHash, out byte[] passwordSalt);
       user.Username = request.UserName;
       user.PasswordHash = passwordHash;
       user.PasswordSalt = passwordSalt;

       return Ok(user);
}

*This method is a post method that is used to register a user.
Create CreatePasswordHash() method
Code:
private void CreatePasswordHash(string password, out byte[] passwordHash, out byte[] passwordSalt)
        {
            using (var hmac = new HMACSHA512())
            {
                passwordSalt = hmac.Key;
                passwordHash = hmac.ComputeHash(System.Text.Encoding.UTF8.GetBytes(password));
            }
  }

* This method uses a cryptographic algorithm (HMACSHA512) to create the password salt and hash and store that to the user object.
Create Login() method
Code:
[HttpPost("login")]
        public async Task<ActionResult<string>> Login(UserDto request)
        {
            if (user.Username != request.UserName)
                return BadRequest("User not found");

            if (!VerifyPasswordHash(request.Password, user.PasswordHash, user.PasswordSalt))
                return BadRequest("Wrong password");

            string token = CreateToken(user);

            return Ok(token);
        }

* This method calls the VerifyPasswordHash to compare the computedHash value with the stored password hash value by using the same passwordSalt.
Create VerifyPasswordHash() method
Code:
private bool VerifyPasswordHash(string password, byte[] passwordHash, byte[] passwordSalt)
{
     using (var hmac = new HMACSHA512(passwordSalt))
      {
               var computedHash = hmac.ComputeHash(System.Text.Encoding.UTF8.GetBytes(password));
               return computedHash.SequenceEqual(passwordHash);
       }
 }

*This method returns a boolean response of whether the computedHash value is equal to the stored password hash value.
Create CreateToken() method
Code:
private string CreateToken(User user)
{
      List<Claim> claims = new List<Claim>
      {
            new Claim(ClaimTypes.Name,user.Username),
            new Claim(ClaimTypes.Role,"Admin")
       };

        var key = new SymmetricSecurityKey(System.Text.Encoding.UTF8.GetBytes(
                _configuration.GetSection("AppSettings:Token").Value));
         var cred = new SigningCredentials(key, SecurityAlgorithms.HmacSha512Signature);
         var token = new JwtSecurityToken(
                				claims: claims,
                				expires: DateTime.UtcNow.AddDays(1),
                				signingCredentials: cred
);
            var jwt = new JwtSecurityTokenHandler().WriteToken(token);
            return jwt;
  }

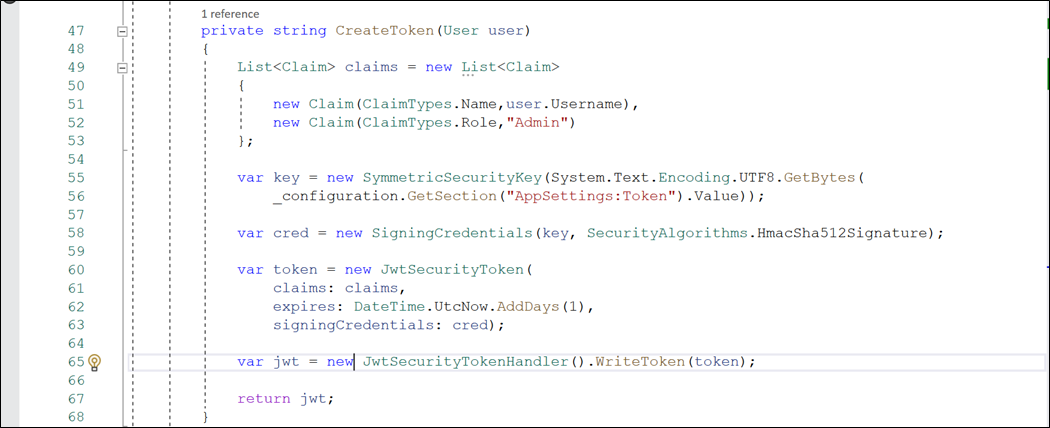
* This method involves the creation of:
- List of claims
- Symmetric Security Key, generated with the help of a secret key present inside the appsettings.json
- Signing Credentials, formed by Symmetric Security Key and Security Algorithm (HmacSha512Signature)
- JWTSecurity Token that includes claims, expiration time, and signing credentials
- JWT token using the JWT Security Token Handler
Note:
- Right-click on Claim and add the missing import for it
- Right-click on the SymmetricSecurityKey method and install the latest Microsoft.IdentityModel.Tokens package
- Right-click on JWTSecurityToken and install the latest System.IdentityModel.Tokens.Jwt package.
- Create a secret key in the appsettings.json file (the secret key must have 16 characters in it)
Code:
"AppSettings": {
    "Token": "This is my secret key"
  },

* Create a constructor for AuthController and add the IConfiguration as a dependency injection to access the secret key inside appsetting.json file.
Code:
public AuthController(IConfiguration configuration)
{
        _configuration = configuration;
 }

Step 4: Run the Application
Run the application and open the swagger URL. You will see the two Http methods listed below.

1. Expand the register method and register any user. You will get a successful JSON type response body containing username, passwordHash and passwordSalt in it.

2. Expand the login method
Case 1: Login is successful
Enter the valid username and password. You will get a valid response body containing the JWT token as a string.

Case 2: Login is unsuccessful
Enter the invalid username or password. You will get an error response body containing the error message.

Summary
This blog has covered the basic implementation of JSON Web Tokens, and the purpose of this blog was to give you a jump start. You can take the code further by implementing more functionalities like role-based authorization and improving the code by using authentication services and dependency injection.


